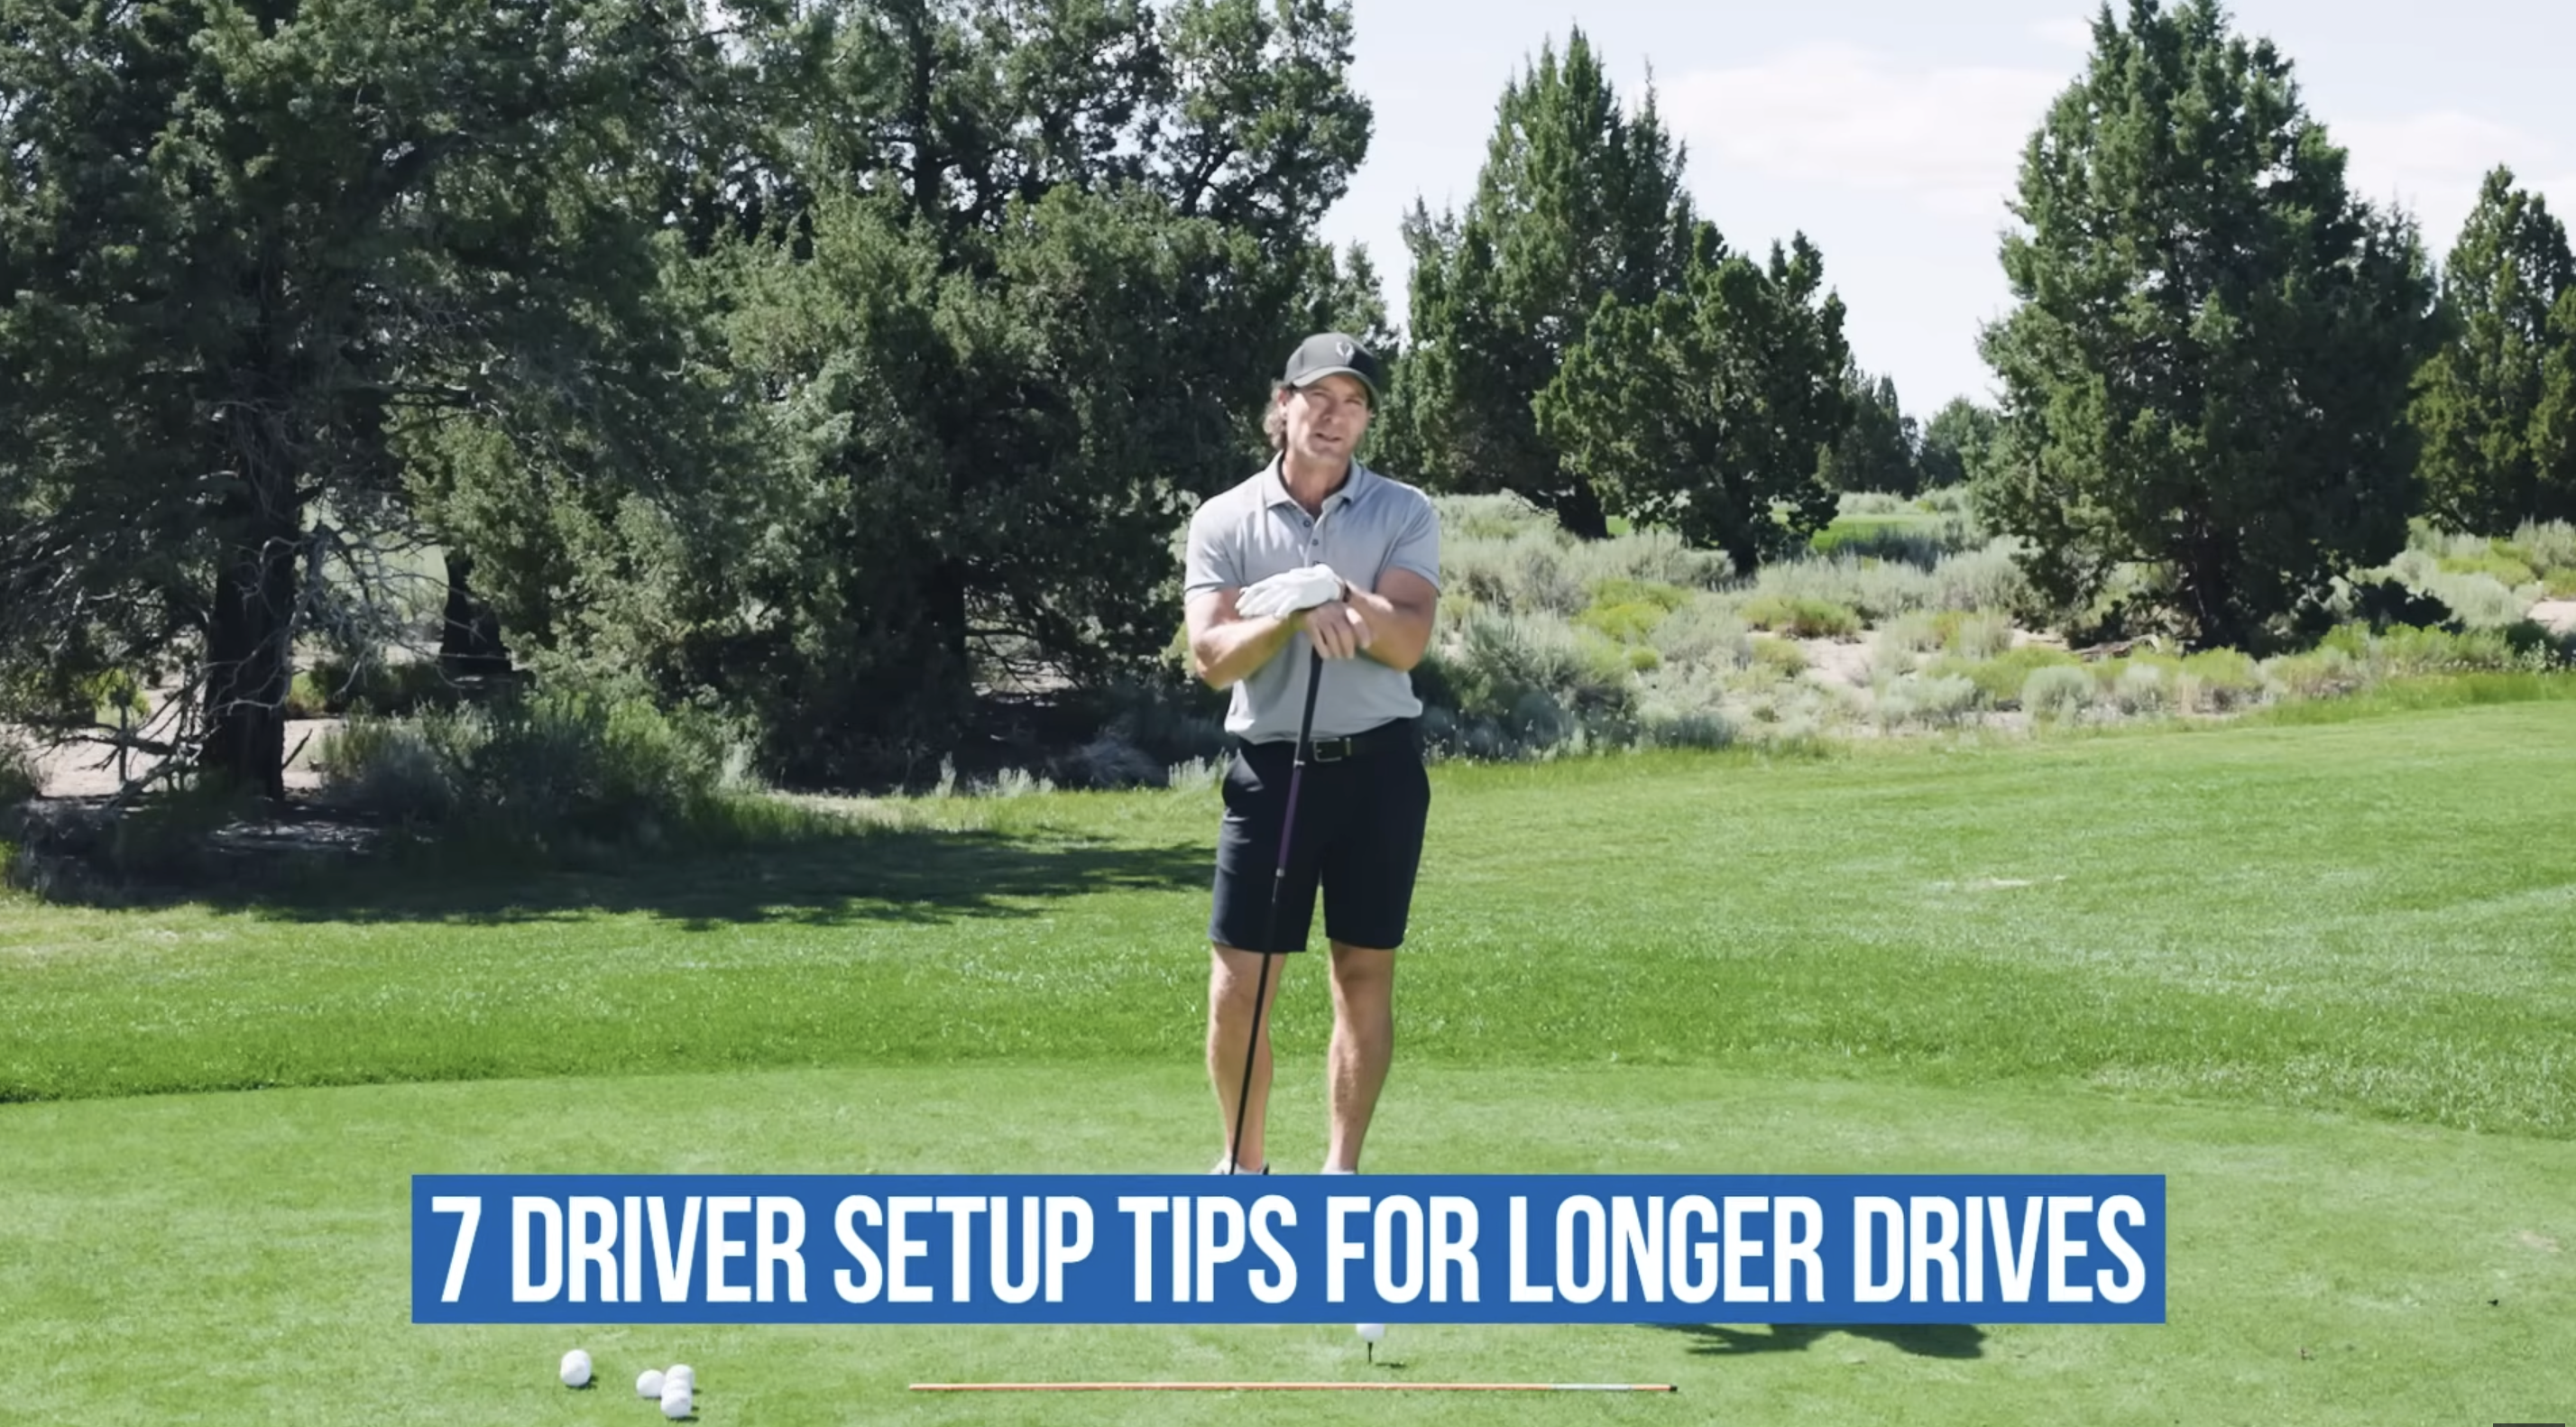
Setting up your golf driver correctly is like pouring the foundation for a house—if it’s level and solid, everything built on top of it is structurally sound. To ensure your golf drives have solid contact and power, you need the right setup routine.
This Performance Golf YouTube tutorial features coach Jeff Ritter walking through seven critical setup adjustments that help produce more consistent, longer, and straighter tee shots.
Below we’ll cover all the key points, plus notes on how to practice them with intention.
1. Strengthen your Grip
A powerful golf drive starts with a solid grip. Many beginners struggling with a slice put too much palm on the grip, leading to weak rotation toward the target.
Rotate the lead hand (top hand) about 45° away from the target so the palm faces more downward. You should be able to see one to two knuckles and the trail hand should sit mostly in the fingers, with a “pocket” resting on the lead thumb. This grip encourages better wrist hinge and clubface control.
2. Raise the Club Handle
One of the most common faults in the driver swing setup is having the handle too low or too far back. The correct hand position should be forward and slightly up—roughly beneath or above the lead shoulder, sometimes near your beltline. This helps create a more sweeping, ascending strike and reduces over-the-top, leftward swing tendencies.
3. Trail Arm Under, Not Above
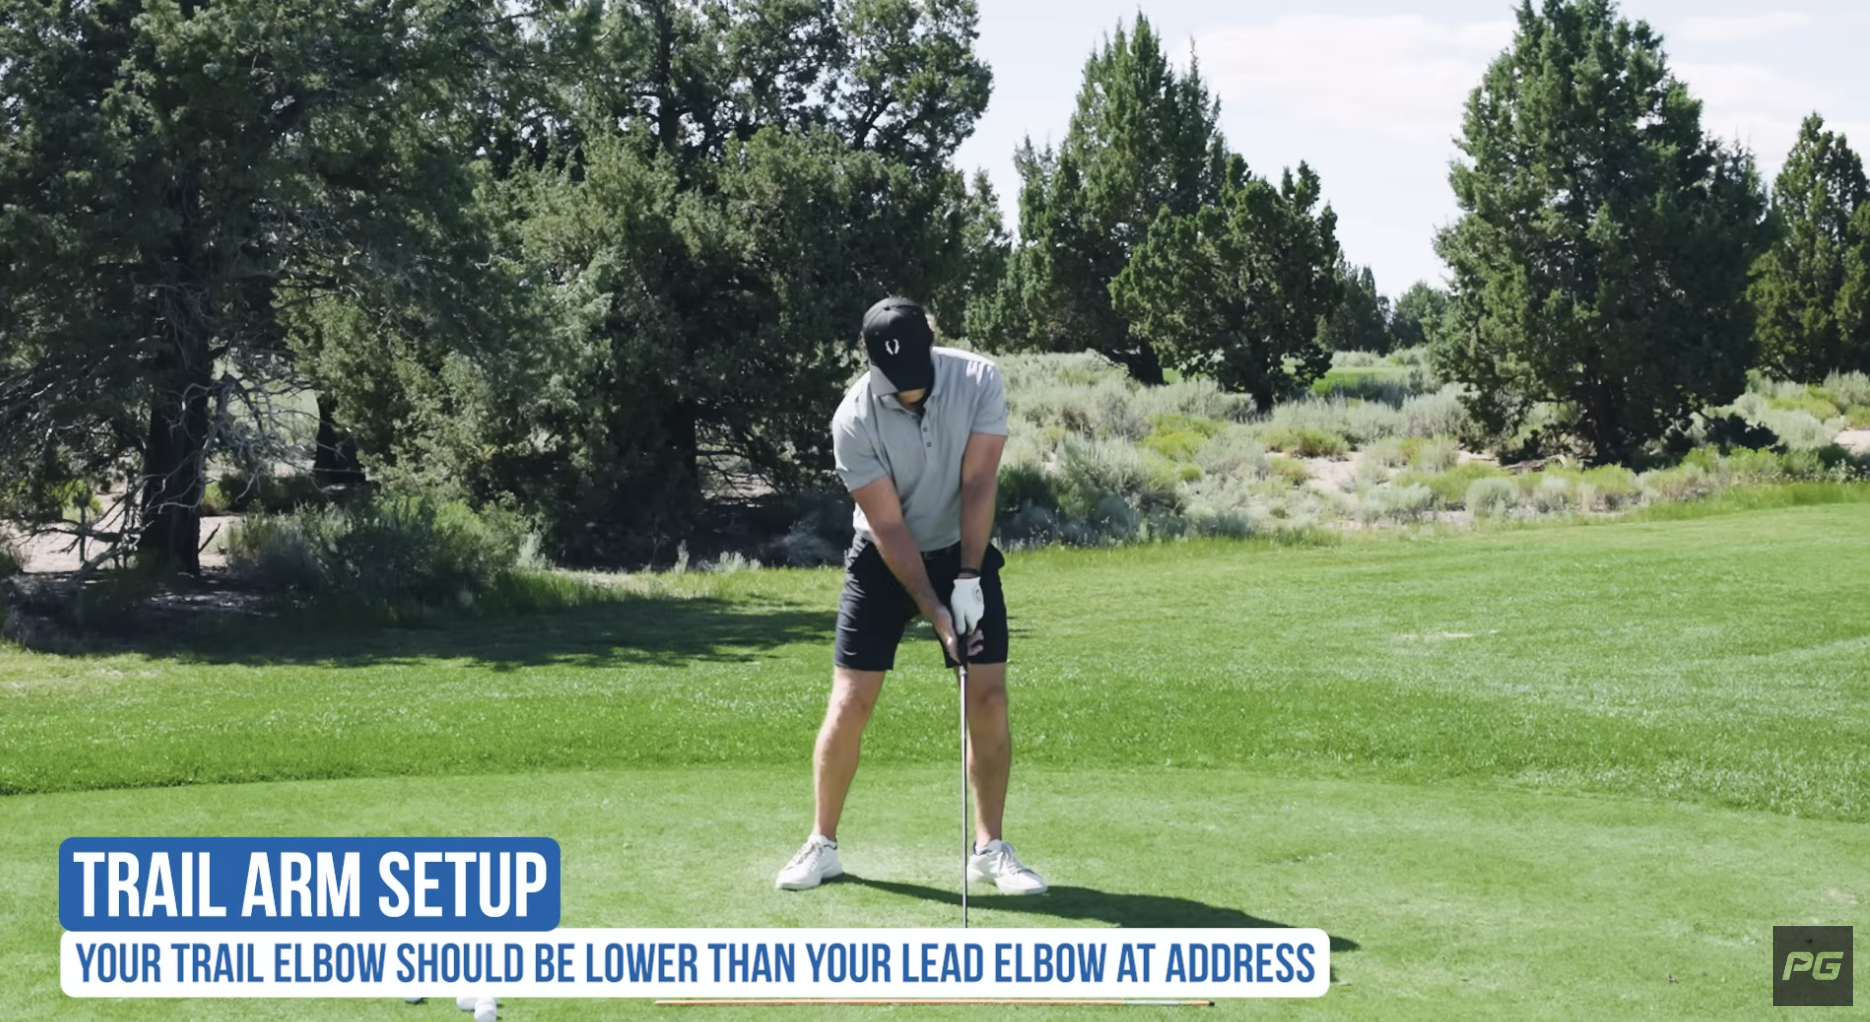
If the trail arm sits over the lead arm, the takeaway often lifts the club excessively outward. Place the trail arm a bit underneath the lead arm, fold the elbow slightly, and ensure that the wrist isn’t overly flat. This positioning promotes a smoother in-to-out path and better swing geometry.
4. Shift Hips and Weight Forward, Not Back
Too many golfers place their belt buckle (pelvis) behind center or in neutral. Ritter recommends shifting it slightly toward the lead heel, increasing forward weight bias (perhaps 60/40). This subtle forward tilt encourages lateral movement into the ball and discourages early body “spin out,” which can force an out-to-in path.
5. Add Foot Flare to Enable Fuller Rotation
If your feet are too square to your target line, hip and shoulder rotation may be restricted. Try turning the feet out just a bit (externally rotated), which permits more freedom for the trail hip to move and helps maintain balance through the swing.
6. “Cheat” Your Hips and Shoulders Slightly Toward the Target
A few degrees of closure in your shoulders and hips at address can help you start your swing on a more ideal plane—less open or “flared” out. This gives your arms and hands a better path to swing upward and inward toward the target, aiding in more solid compression and draw-bias shape.
7. Position the Ball Slightly Toward the Toe
This tip may surprise some: if your ball is perfectly centered, the club’s impact zone may get pushed toward the heel due to elevation differences, because the golf ball is slightly elevated relative to a grounded clubface.
Hitting more toward the heel can induce a slice, but by playing the ball a little toward the toe, you increase the chance of compressing it more centrally.
Piecing The Right Driver Setup Together
Each of these seven adjustments supports the others. A stronger grip, forward-and-up hand position, proper trail arm alignment, forward hips, foot flare, slight shoulder/hip closure, and toe-side ball position all contribute to a more in-to-out swing path and a clubface that can more naturally square up at impact.
Coach Ritter likens setup to dominoes: if each one is aligned well, your swing will “fall” into being far more efficient and repeatable. Start with one or two changes, practice them in front of a mirror or on video, then incorporate them into your setup on the course.