A proper backswing is the foundation of a consistent and powerful golf swing. Many golfers struggle with getting enough turn, which can lead to a lack of power and poor contact.
Watch the video below with Performance Golf’s Eric Cogorno and JT Thomas, where they break down the most effective way to start your swing, ensuring you achieve the right amount of hip and shoulder turn for a smooth and powerful motion. Then, we’ll break down the drills step by step.
Why a Good Backswing Turn Matters
Many amateur golfers struggle to complete a full backswing because they fail to turn their hips and shoulders properly. A good backswing sets the stage for a powerful downswing, improving contact, accuracy, and distance. The key takeaway from this lesson? The sequence and timing of your turn are critical to maximizing your backswing.
The Key to a Perfect Backswing: Hip and Shoulder Turn
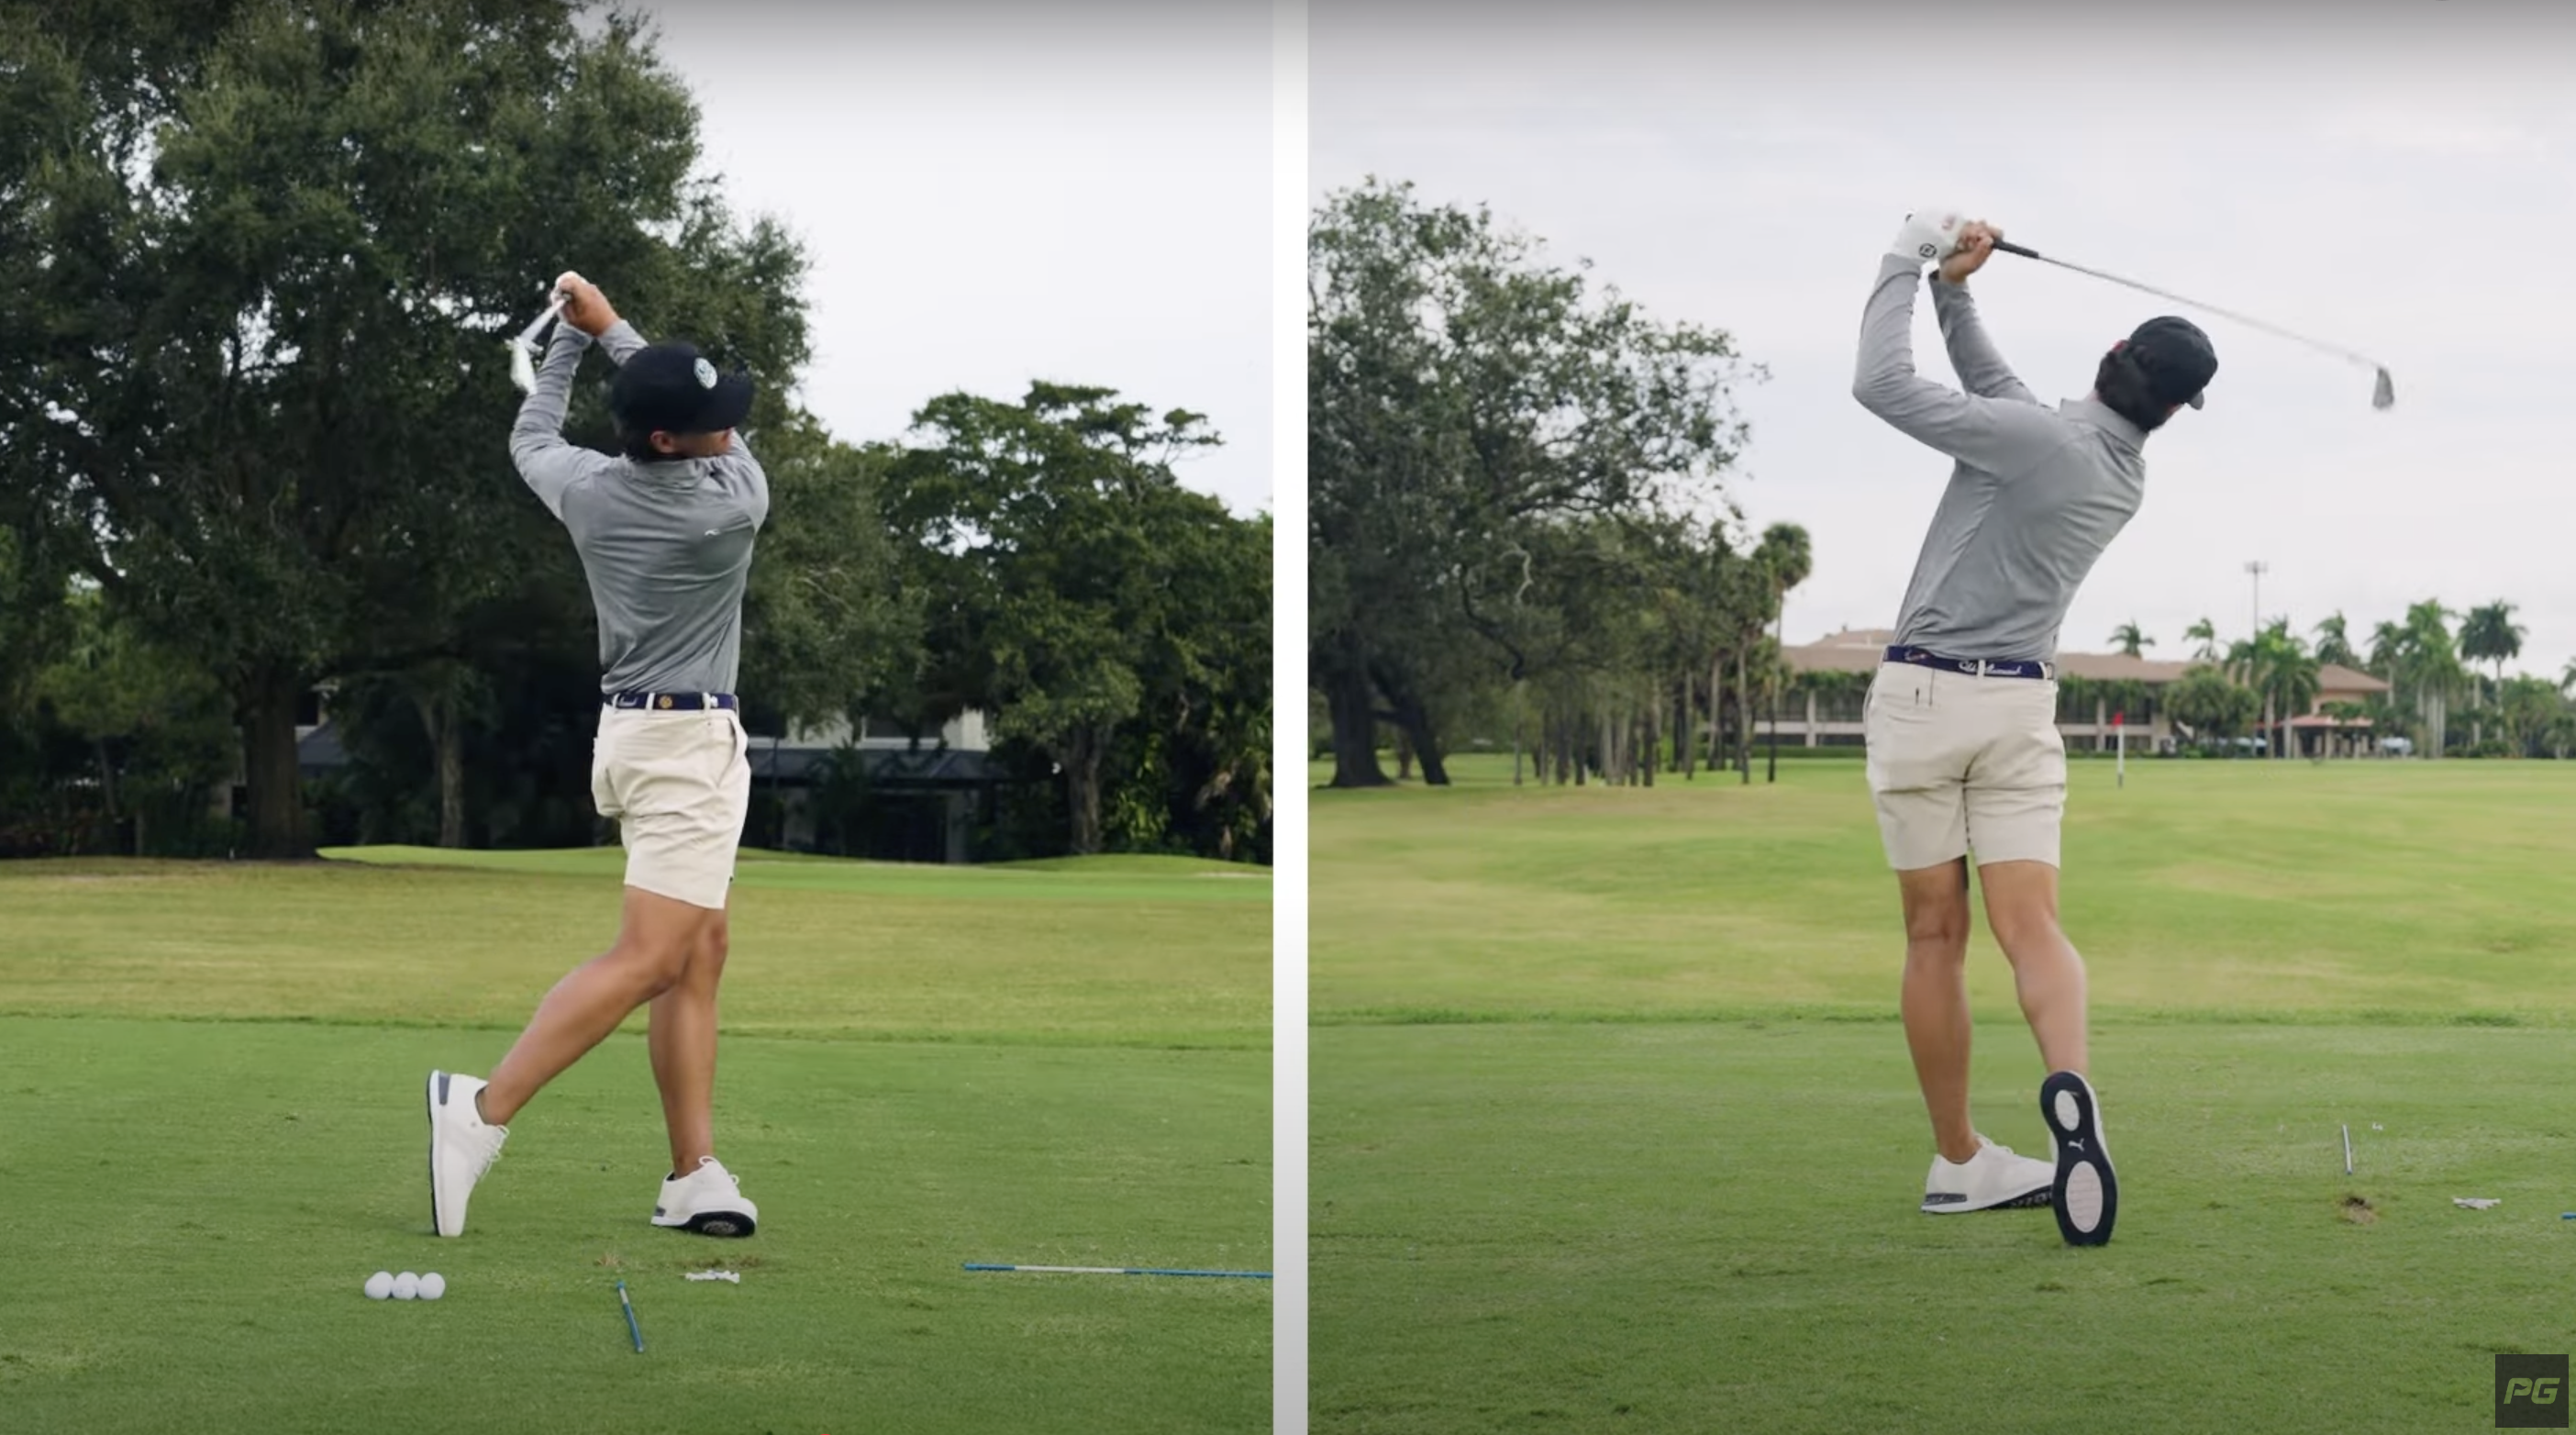
The ideal backswing consists of both a 45 degree hip turn and a 90 degree shoulder turn.
To achieve this, your center (think navel or belt buckle) should begin the movement—not just the shoulders or arms. Many golfers either fail to turn their hips or move their arms independently, which disrupts the sequence and limits their ability to complete a full turn.
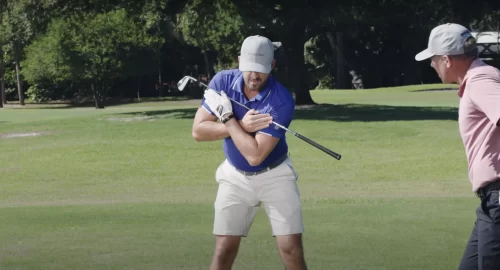
Drill #1: The Belt Buckle Rotation Drill
One of the best ways to develop the correct feel is by using this simple belt buckle rotation drill:
- Hold a club horizontally just above your belt line.
- Apply pressure inward, keeping the club against your body.
- Rotate your hips about 45 degrees, ensuring the club moves with your torso.
- Notice how this move naturally initiates your shoulder turn.
This drill helps players feel how the hips should start the backswing and prevents using just the arms, which can cause inconsistency.
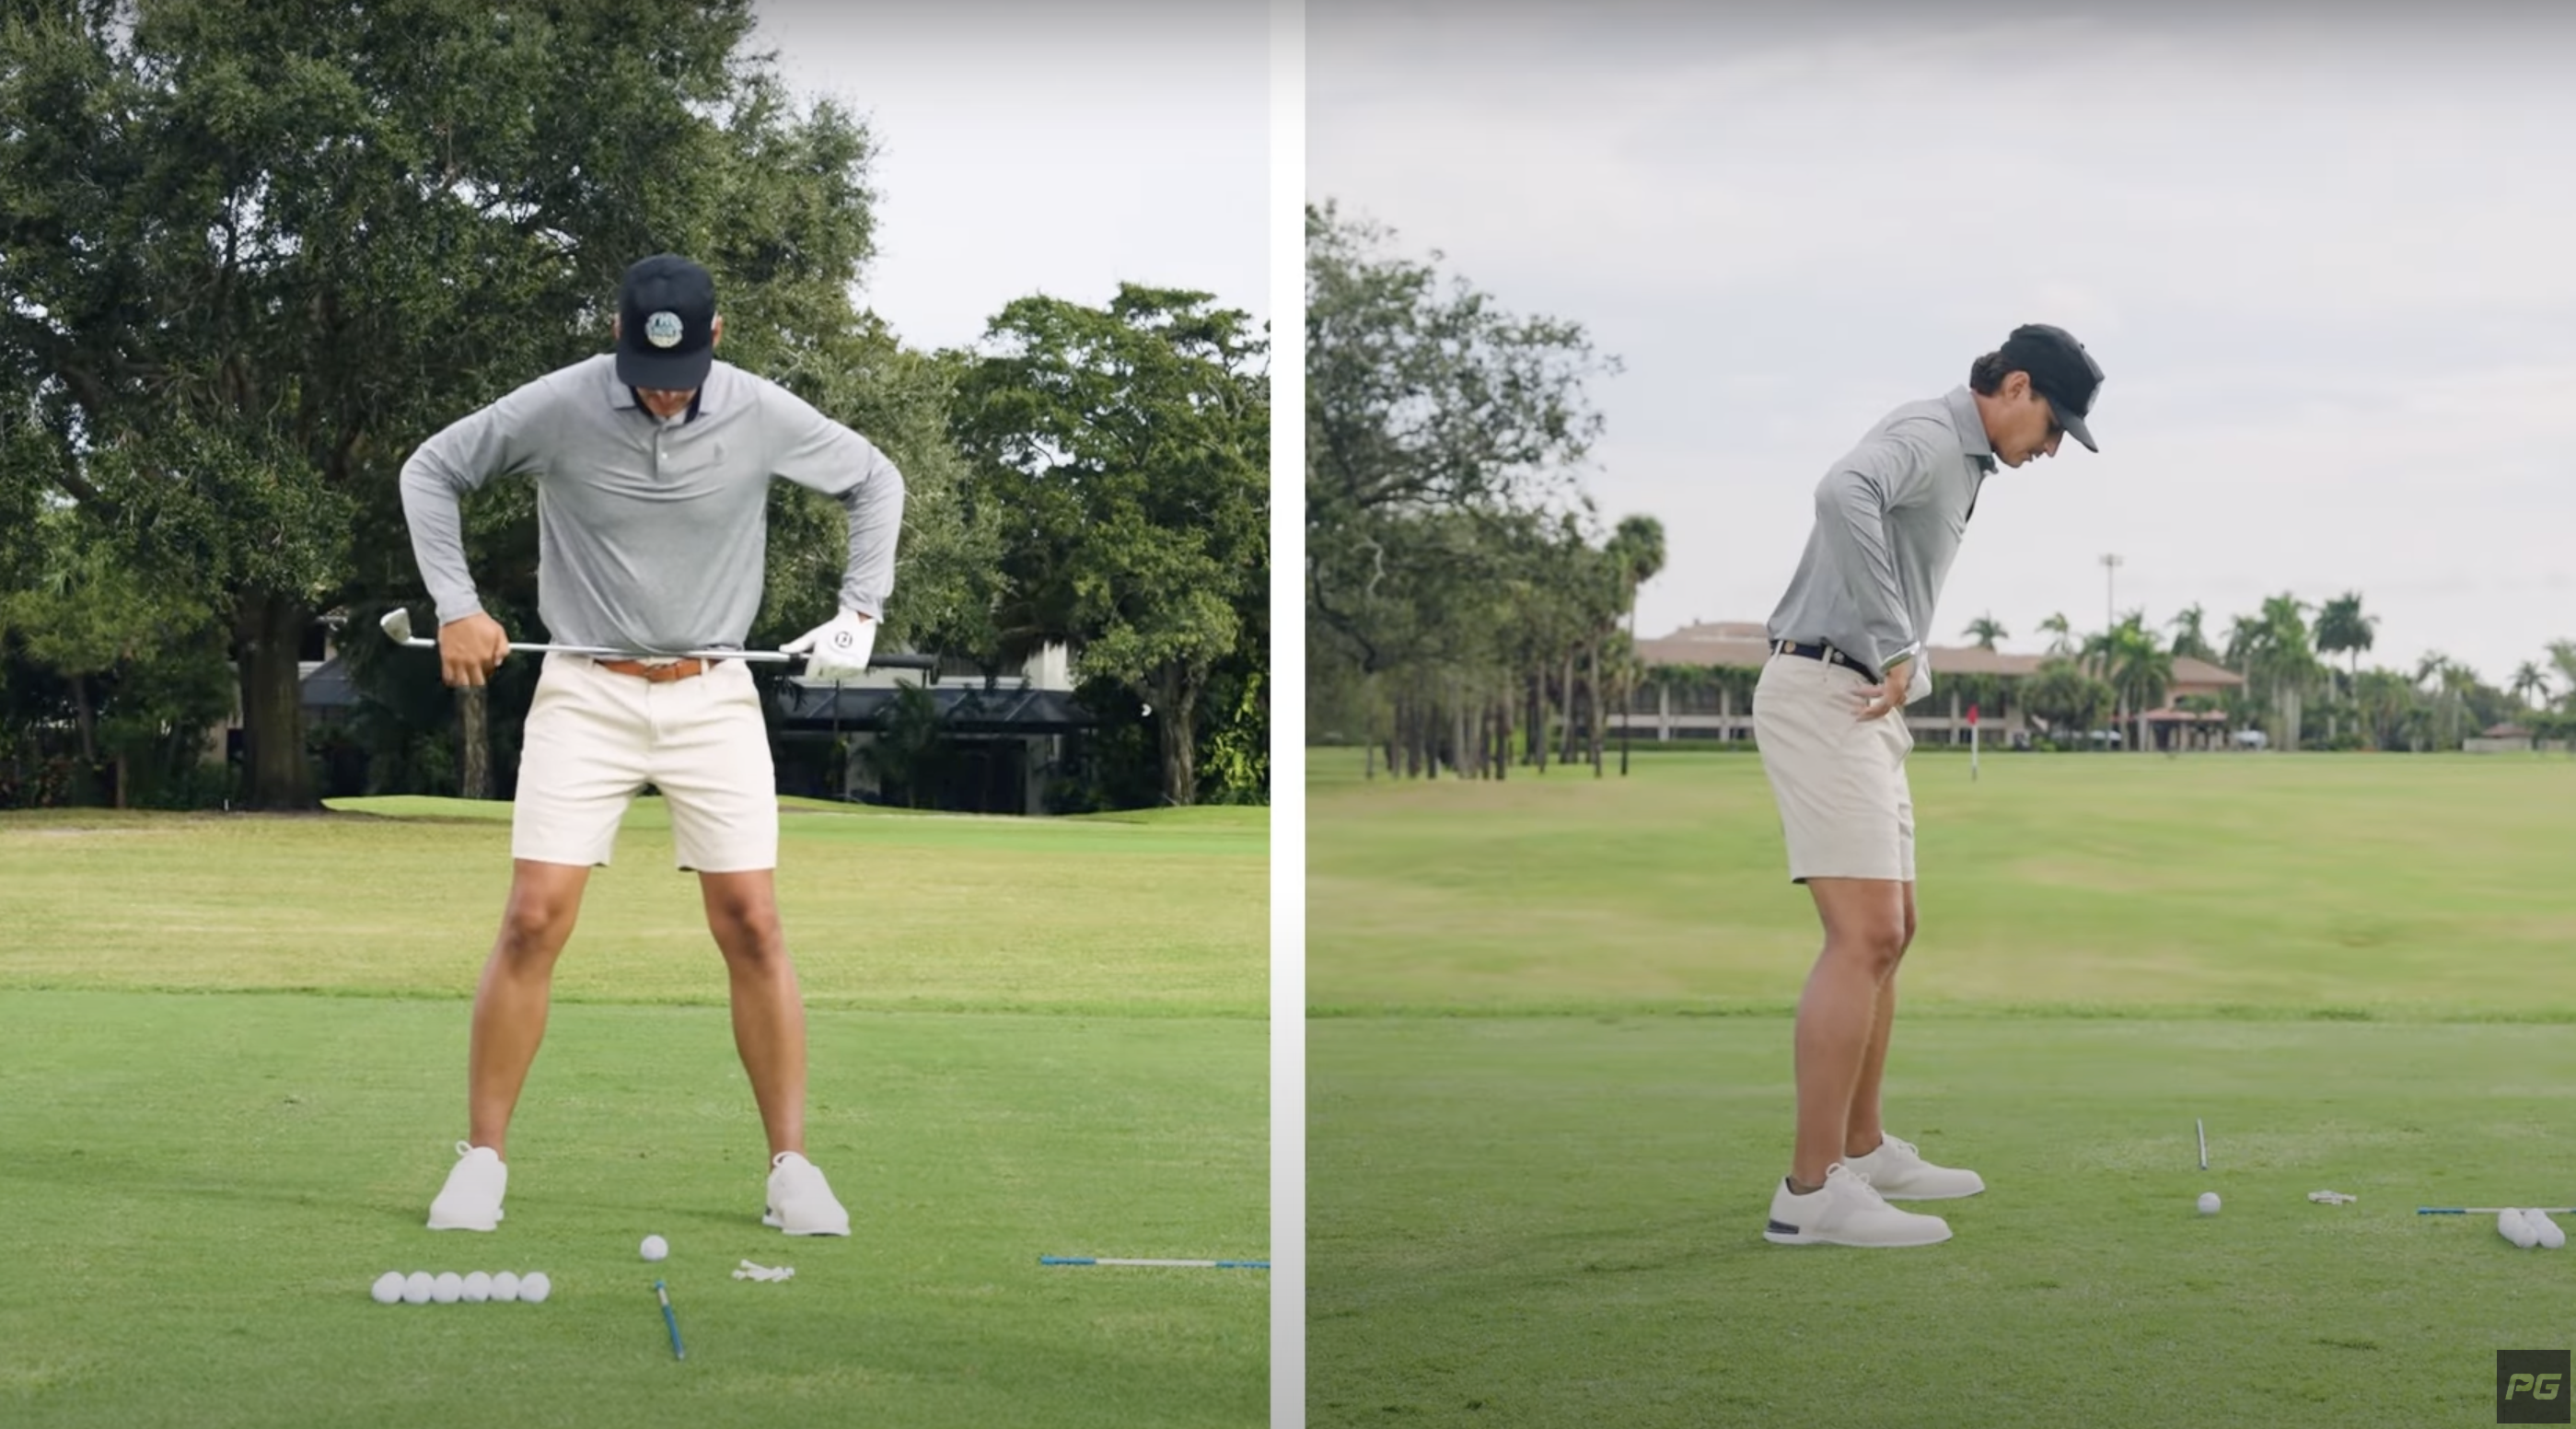
Drill #2: Keeping the Arms in Front
Once the lower body movement is correct, the next step is ensuring the arms stay in sync:

- Place the club against your stomach and set your lead arm slightly in front.
- As you rotate, maintain the space between your lead arm and the club.
- Avoid pulling the arms too far inside or letting them move independently.
This drill ensures that the arms move correctly with the body, preventing common faults like an overly inside takeaway or a disconnected backswing.
The Final Piece: Completing the Shoulder Turn
Once you establish the correct hip and arm movements, finishing the backswing is simple. Just remember:
- The trail shoulder moves behind the neck
- The lead shoulder moves under the chin
- Ideally, from a face-on view, the trail shoulder should be visible on the opposite side of the body
If you struggle with flexibility, focusing on early hip turn will make it much easier to achieve the necessary 90-degree shoulder turn.
Many golfers feel like they “can’t turn,” but the reality is often that they aren’t using their lower body to help initiate the movement. By engaging the hips early, the upper body can complete the motion without requiring extreme flexibility.
Golfers who incorporate these movements should notice:
- Higher ball flight
- More effortless power
- A more natural, fluid backswing
If you struggle with achieving a full backswing, focus on starting with the lower body. Use the belt buckle drill and arm positioning drill to sync up your movements and maximize your turn. More turn means better contact, more power, and improved consistency—everything you want in a golf swing.